

In this article we are going to learn how to write a blog post on WordPress Website step by step. When I first started using WordPress, writing a blog post felt confusing. I knew what I wanted to say, but I wasn’t sure where to click, how to structure the content, or how to make the post look professional instead of messy. Over time, after writing many posts and learning through trial and error, I developed a simple system that works every single time.
How to write a Blog Post on WordPress Website?
In this blog, I’ll walk you through how I personally write a blog post on a WordPress website, step by step. I’ll explain not just what to do, but why it matters, so by the end of this post, you’ll feel confident enough to publish your own blog without hesitation.
1. Understanding What a Blog Post Really Is
Before opening the WordPress editor, I always remind myself what a blog post is supposed to do. A blog post is not just text on a page. It’s a conversation between me and the reader. When someone lands on my blog, they’re usually looking for answers, clarity, or guidance.
I write my content with this thought in mind: If I were reading this, would it feel helpful and easy to understand? This mindset changes everything. Instead of writing robotic or textbook-style content, I focus on clarity, flow, and value.
Benefit of this approach
When you write with the reader in mind, people stay longer on your page, trust your content, and are more likely to come back. This also helps with SEO and engagement without forcing keywords unnaturally.
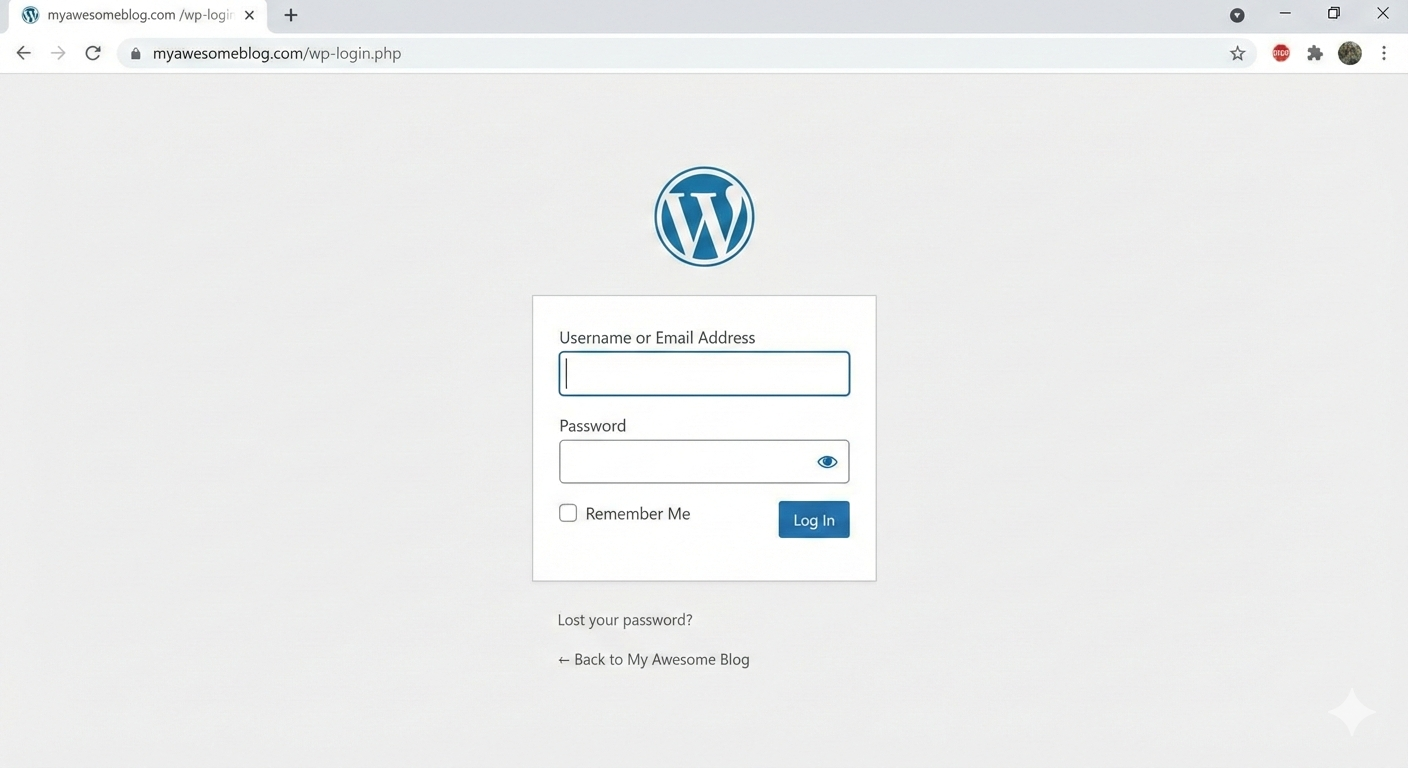
2. Logging in to the WordPress Dashboard
The first practical step is logging into the WordPress dashboard. I go to:
yourwebsite.com/wp-admin
After entering my username and password, I land on the dashboard. This is the control center of my website. At first, it may look overwhelming, but once you get used to it, everything feels organized and logical.
Why this step matters
Knowing your dashboard well saves time. Instead of searching for options every time, you’ll move confidently and focus more on writing quality content.
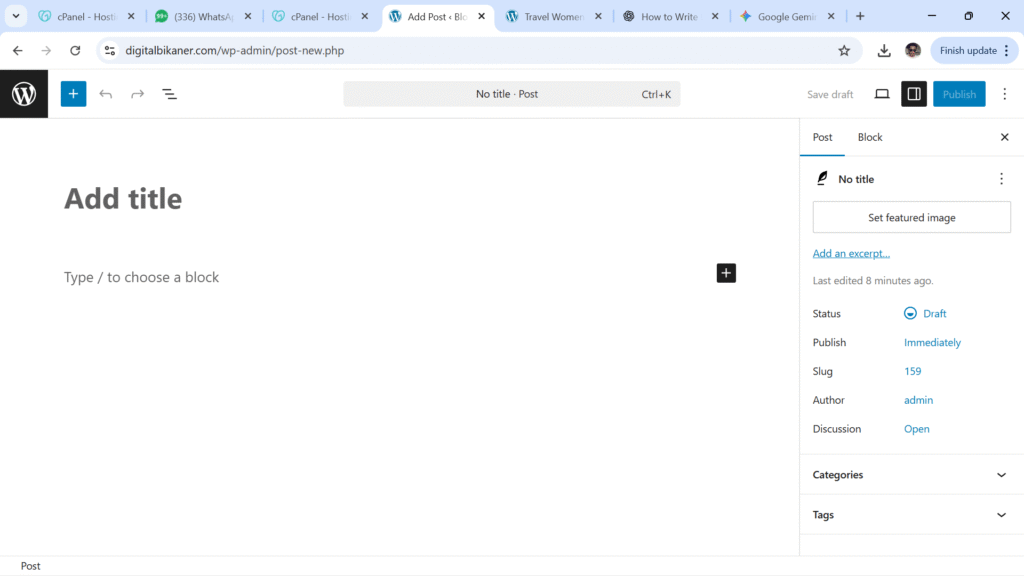
3. Creating a New Blog Post
From the left-hand menu, I click on Posts → Add New. This opens the WordPress editor, also known as the Gutenberg editor. This editor works with blocks, which actually makes writing easier once you understand it.
I don’t rush here. I take a moment to think about the structure of my post before typing anything.
Benefit
Starting a new post properly helps you stay organized and reduces editing work later.
4. Writing a Strong Blog Title First
The first thing I write is the title. I never skip this step or leave it for later. The title gives direction to the entire blog post.
For this topic, a title like:
“How to Write a Blog Post on a WordPress Website: A Beginner-Friendly Guide”
works well because it clearly tells the reader what they’ll learn.
Why the title is important
- It’s the first thing readers see
- It affects click-through rate
- It helps search engines understand your content
A good title sets expectations and attracts the right audience.
5. Planning the Blog Structure Before Writing
Before I write long paragraphs, I mentally plan my content. I ask myself:
- What does a beginner need to know first?
- What steps come next?
- What common mistakes should I address?
I then break the content into clear headings and subheadings. This makes the post easy to scan and prevents it from looking like one long block of text.
Read Also: How to install theme on WordPress Website?
Benefit
Structured content improves readability and keeps readers engaged till the end.
6. Writing the Introduction in a Personal Tone
In the introduction, I always write in a personal and relatable way. I explain why the topic matters and what the reader will gain from reading the post.
I avoid jumping straight into technical steps. Instead, I connect emotionally first, sharing a small experience or pain point.
Why this works
People connect more with stories and experiences than instructions. A warm introduction builds trust and encourages readers to continue.
7. Using Headings and Subheadings Correctly
Inside the WordPress editor, I use:
- H2 headings for main sections
- H3 headings for sub-points
I never make headings bold manually. I always use the Heading block, because this helps both readers and search engines.
Benefit
Proper headings improve SEO, readability, and overall professionalism of the post.
8. Writing Points with Detailed Paragraphs
When explaining steps or ideas, I use numbered points or bullet points, followed by detailed paragraphs. This is one of my favorite writing styles because it’s clean and easy to follow.
For each point, I:
- Explain what the step is
- Share why it’s important
- Add a small insight or benefit
Why this method works
Readers can skim points quickly, but still get depth if they read the full paragraph. It satisfies both fast readers and detail-oriented readers.
9. Writing Like a Human, Not a Machine
I intentionally use “I”, “me”, and “my experience” while writing. I imagine I’m explaining something to a friend sitting in front of me.
I avoid:
- Overly complex words
- Perfectly polished sentences
- Repetitive phrases
Instead, I write naturally, the way I would speak.
Benefit
This makes the content feel genuine and hand-written, which builds credibility and keeps readers engaged longer.
10. Adding Images Inside the Blog Post
I usually add images after every few sections. In WordPress, I click + → Image and upload a relevant image.
Images break long text and make the post visually appealing.
Why images matter
- Improve user experience
- Reduce bounce rate
- Make content easier to understand
Even simple screenshots or illustrative images can make a big difference.
11. Formatting the Content for Easy Reading
I keep paragraphs short—usually 2 to 4 lines. I use:
- Bold text for important points
- Lists for clarity
- White space for breathing room
I always preview the post to check how it looks on desktop and mobile.
Benefit
Clean formatting makes readers comfortable and encourages them to read more.
12. Selecting Categories and Tags
Before publishing, I choose a category that best fits the post, such as Blogging or WordPress Tips. I also add a few relevant tags.
Why this helps
Categories and tags keep your website organized and improve navigation for readers and search engines.
13. Adding a Featured Image
The featured image is the face of your blog post. I choose an image that:
- Matches the topic
- Looks professional
- Is not overcrowded
This image appears on blog listing pages and when the post is shared on social media.
Benefit
A strong featured image increases clicks and makes your blog look polished.
14. SEO Optimization (Optional but Powerful)
If I’m using an SEO plugin like Yoast or Rank Math, I:
- Add a focus keyword
- Write a meta description
- Improve readability suggestions
I don’t over-optimize. My priority is still the reader.
Benefit
Good SEO helps your blog rank higher while keeping the content natural.
15. Previewing and Publishing the Blog Post
Before hitting publish, I always click Preview and read the post once from start to end. I fix:
- Spelling mistakes
- Awkward sentences
- Formatting issues
Once satisfied, I click Publish.
Why this final step matters
A quick review ensures your post looks professional and error-free.
Conclusion: My Final Thoughts on Writing Blog Posts in WordPress
Writing a blog post on a WordPress website doesn’t have to be complicated. Once you understand the editor and follow a clear structure, the process becomes enjoyable.
I’ve learned that good blogging is not about fancy words or perfect grammar. It’s about sharing value in a simple, honest, and relatable way. When you write like a real person and focus on helping your reader, everything else—engagement, SEO, and growth—follows naturally.
If you’re just starting out, my advice is simple: start writing, publish consistently, and improve with every post. WordPress gives you the tools—you just need to use them confidently.